“The Xcarlink is a revolutionary product that allows you to connect your iPod or MP3 player/USB flash/SD card directly to the CD changer port of your original car stereo for the best possible sound quality, it will even allow you to control your MP3 through the controls on your stereo and steering wheel.”
The text above is quoted from the official website www.xcarlink.com and I may confirm what they say is right.
Recently I convinced my brother to get the XCarLink for my Vitz. His opinion was that I could get a superb deck for my Vitz at the same cost of Rs.10,000. However, I was determined to keep my Vitz in its original shape and not remove the OEM deck.
To cut the story short I am very much satisfied with the sound quality, the in-dash navigation and the portability provided by this device.
To the benefit of the Vitz Owners Club members, I am posting this DIY for dismantling the OEM deck and plugging in the XCarLink cable to the CD changer port.
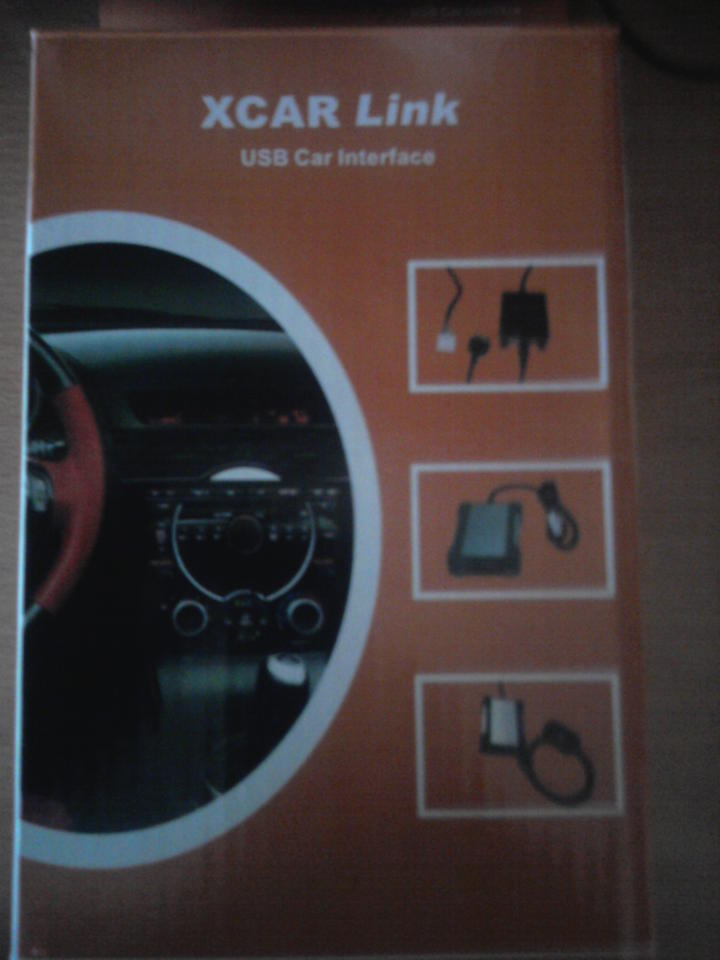
The XCarLink Box Pack
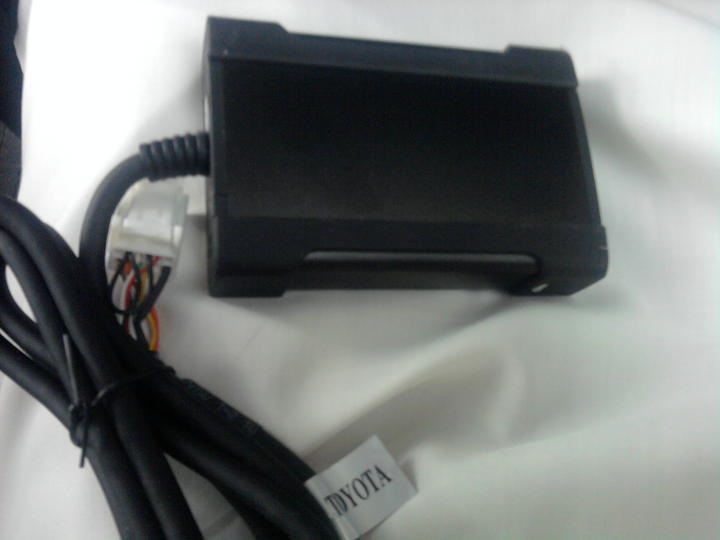
The XCarLink device main component.
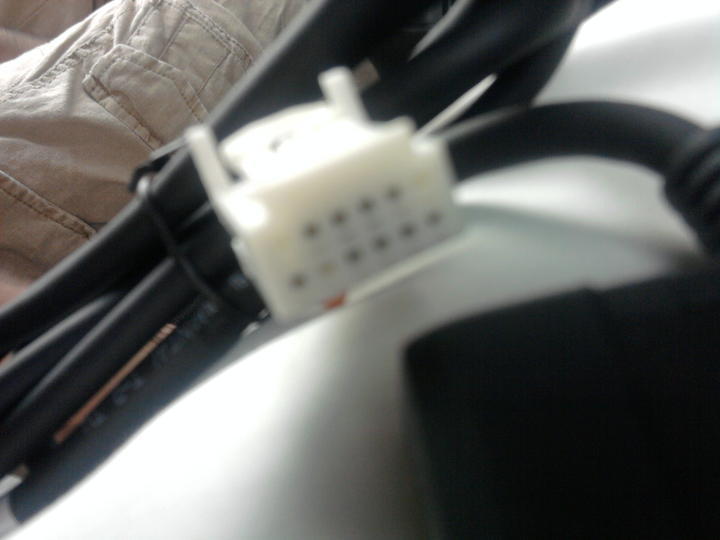
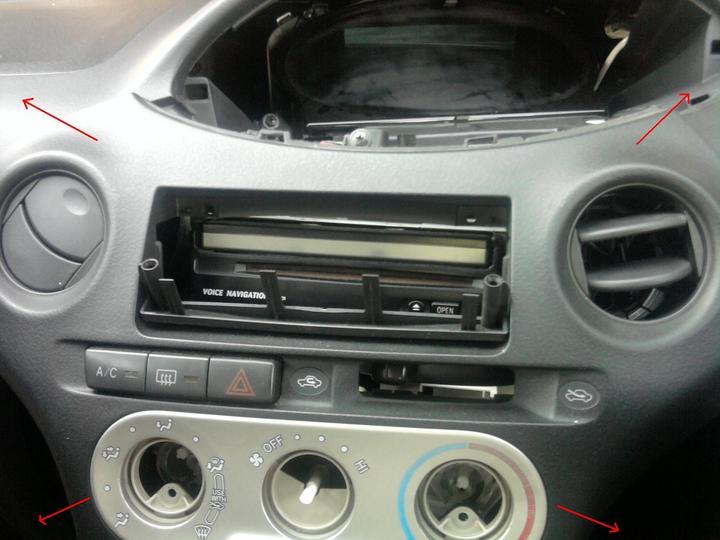
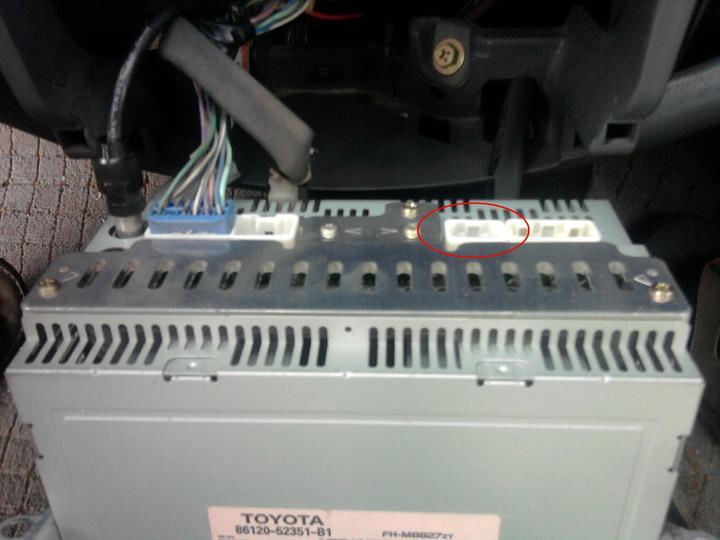
The 6 by 6 CD changer port for Vitz model 2003+
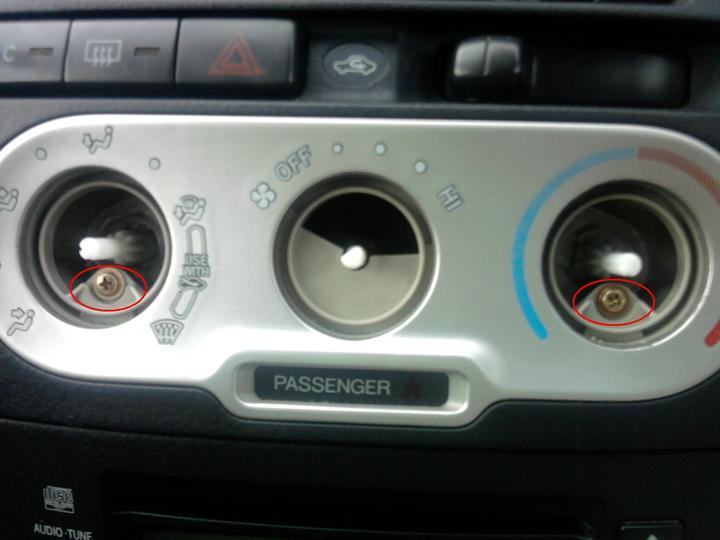
Step #1: Remove the temperature knobs and the 2 screws below them
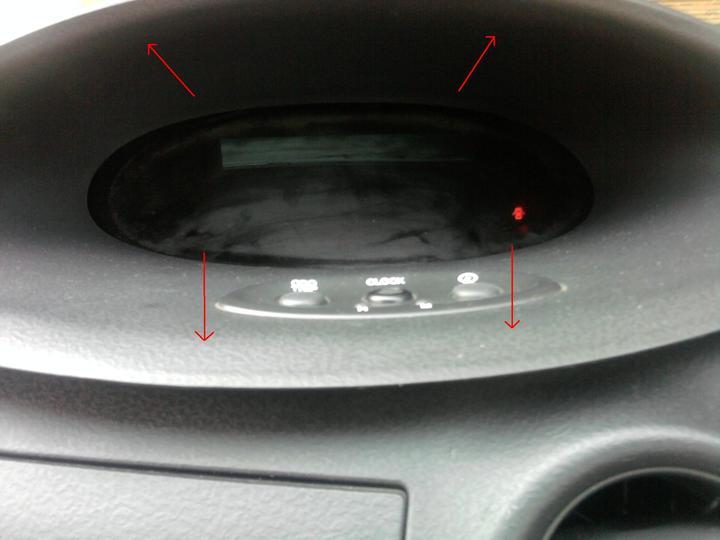
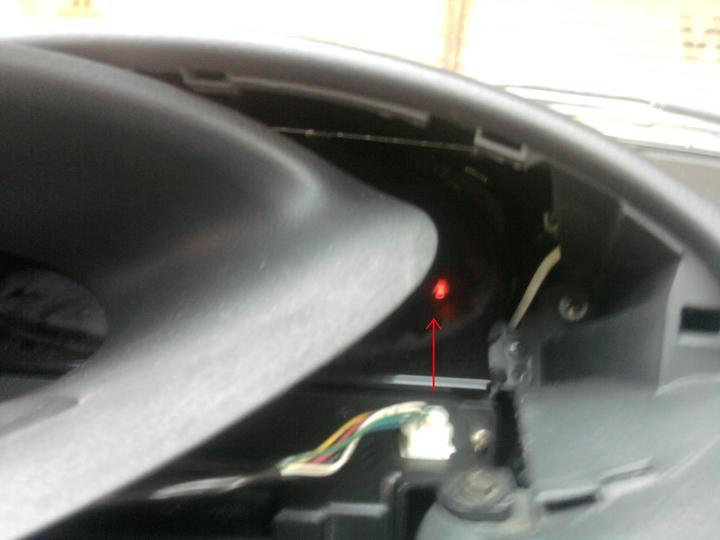
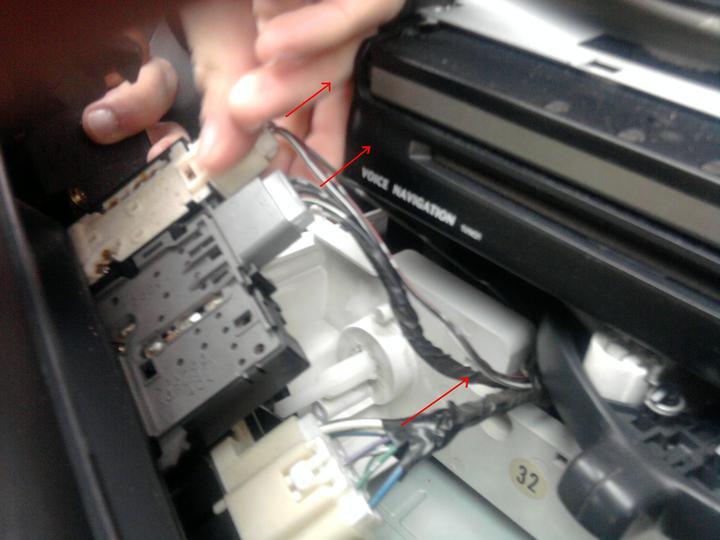
Step #2 & 3: Dismantle the speedometer assembly by pulling out the central unit. (You may use bare hands for this, no tool required). Be sure to remove the wired clip before completely removing the assembly (shown below)
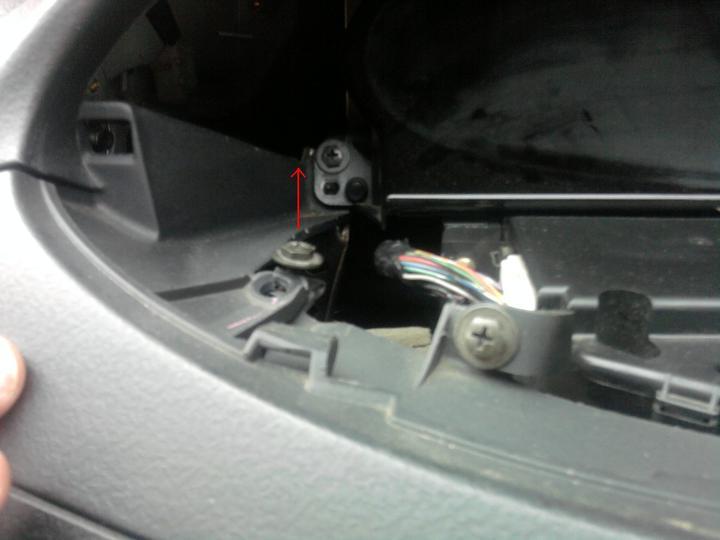
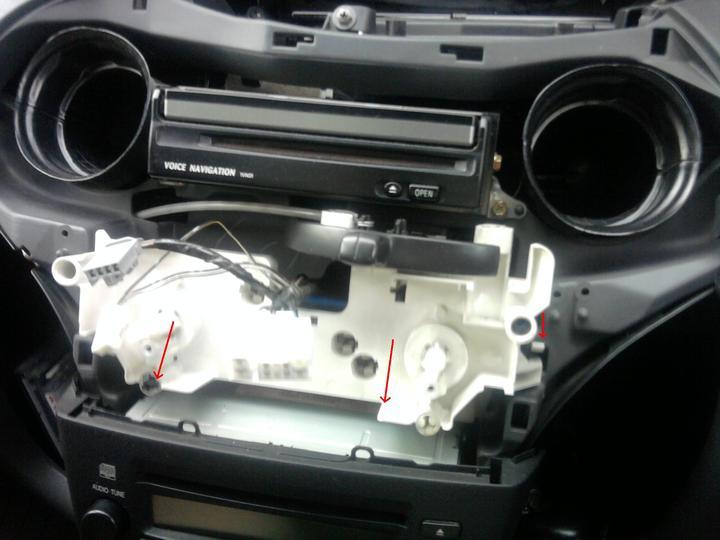
Step #4: Remove the screw that holds the instrument panel. Pull out the instrument panel. Be sure to remove all the electrical clips from behind as shown below…
Step #5: Remove the white cover by pushing down the clips on both sides as shown above
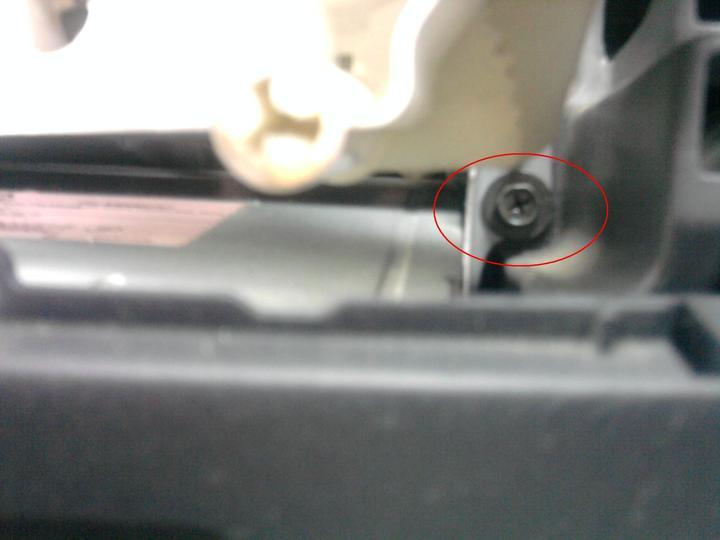
Step #6: Remove the two screws just below the white plastic
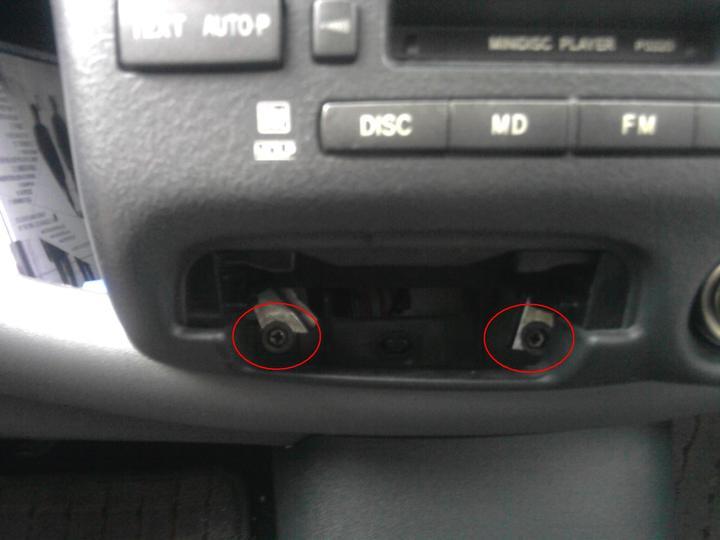
Step #7: Remove the two screws from under the tape behind the ash tray
Step #8: Pull out the tape by pushing the plastic clips at both sides

Step #9: Switch in the CD changer jack of the XCarLink device into the CD changer port (on right)
Step #10: Reassemble the audio component and you are done !!!


